In the discussion on calibration we saw that the calibration compo
-
nents establish the reference plane and determine the quality of the
measurement. If we have a good Open, Short and Z
0
load to place at
the end of a microstrip line, we can calibrate the system at the point of
measurement.
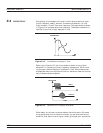
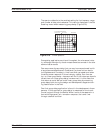
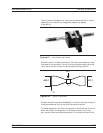
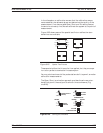
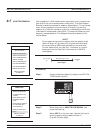
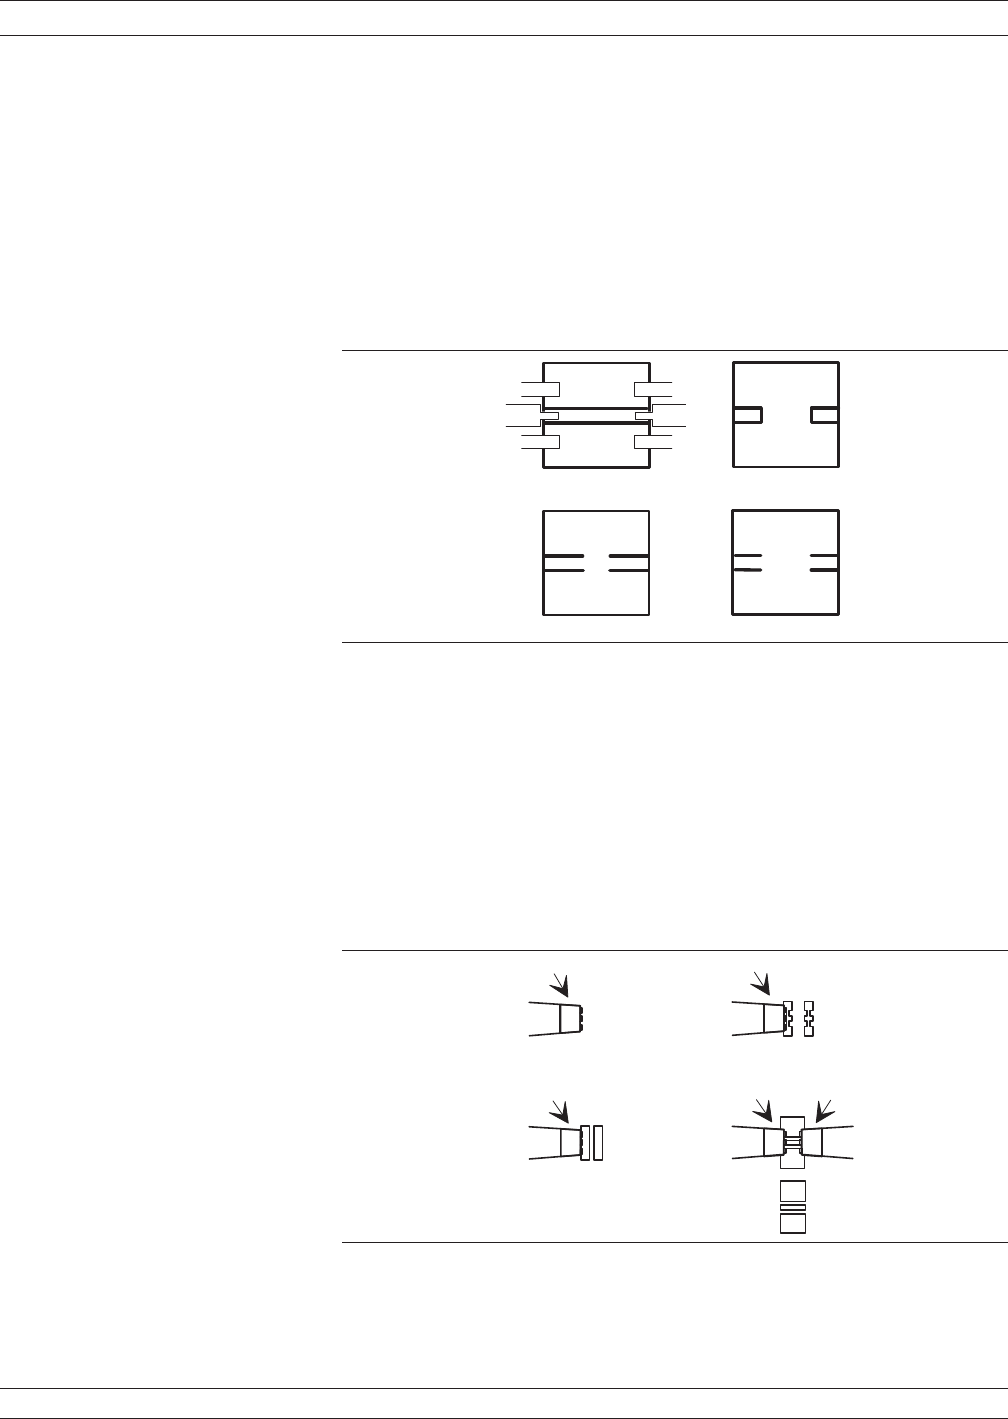
Figure 8-25 shows some of the special test-fixture calibration stan
-
dards that are available.
These special calibration kits are far from perfect, but they are supe-
rior to our perfect transmission line assumption.
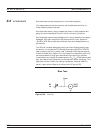
You may also have heard of the probe stations built to permit on-wafer
calibration measurements.
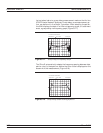
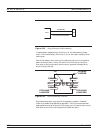
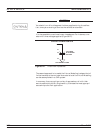
The Open, Short, termination approach provides three known stan
-
dards that permit the analyzer to solve for three unknowns (Fig
-
ure 8-26).
37xxxE OM 8-27
MEASUREMENTS ACTIVE DEVICE
T H R U L I N E
O F F S E T S H O R T
O P E N
O F F S E T S H O R T
5 0 O H M
1 8 0 / 8 2 - S C 2 4 0 / 5 2 - S C
2 4 0 / 5 2 - O C
Figure 8-25. Special Test Fixtures
5 0 O H M
T E R M I N A T I O N
S H O R T
C I R C U I T
P R O B E
5 0 O H M
T H R O U G H L I N E
P R O B E
P R O B E
1 0 0 O H M
1 0 0 O H M
P R O B E
P R O B E
O P E N C I R C U I T
( I N A I R )
Figure 8-26. Solving for Unknowns


